How to Restore Old Photos-The Complete Guide
Revive damaged or black-and-white memories with the help of simple tools and expert tips


Got an old photo with faded colors, and you wish you could do something about it?. Well, why not restore it? With a few simple techniques, you can restore old photos. In fact, you can make them look as if they were taken yesterday. However, the question is how to restore old photos without any designing knowledge, right? In this article, we are going to talk about digital photo restoration.
So, let's get started!
- 3 Ways to Restore Faded Color Photos
- Method 1: Restore old photos online with X-Design
- Method 2: Fix Faded Photos using GIMP
- Method 3: Restore Old Photos Using Photoshop
- How to Colorize the Old Image?
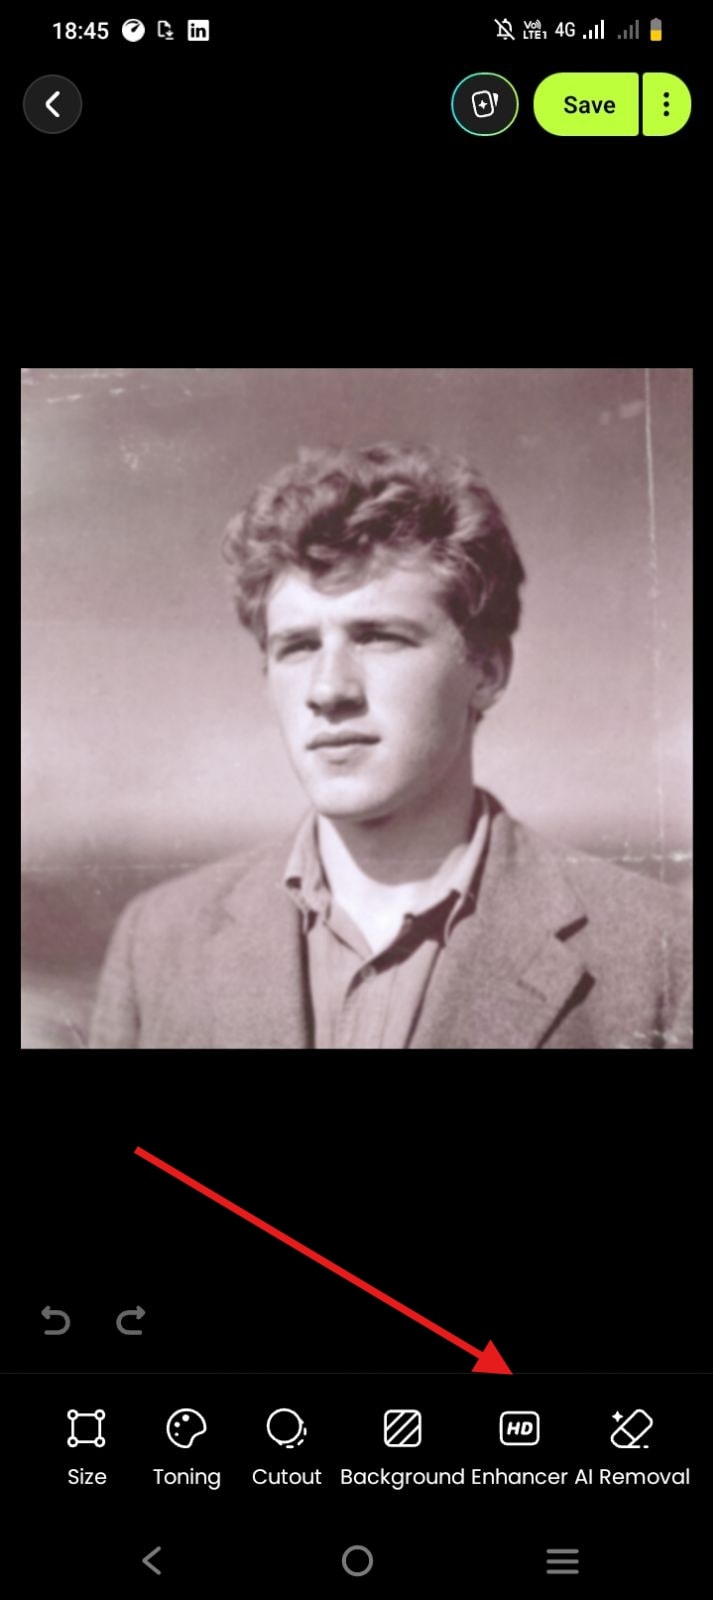
- How to Restore Old Photos on Mobile Apps
- 1. X-Design Mobile App
- 2. YouCam Enhance – Revive Your Old Photos
- 3. Remini Mobile App
- Use Cases for Restoring Old Photos
- Final Words
3 Ways to Restore Faded Color Photos
Restoring old photos online doesn’t have to take hours. In fact, there are a few simple ways to do it, and we will walk you through the three most practical methods.
Method 1: Restore old photos online with X-Design
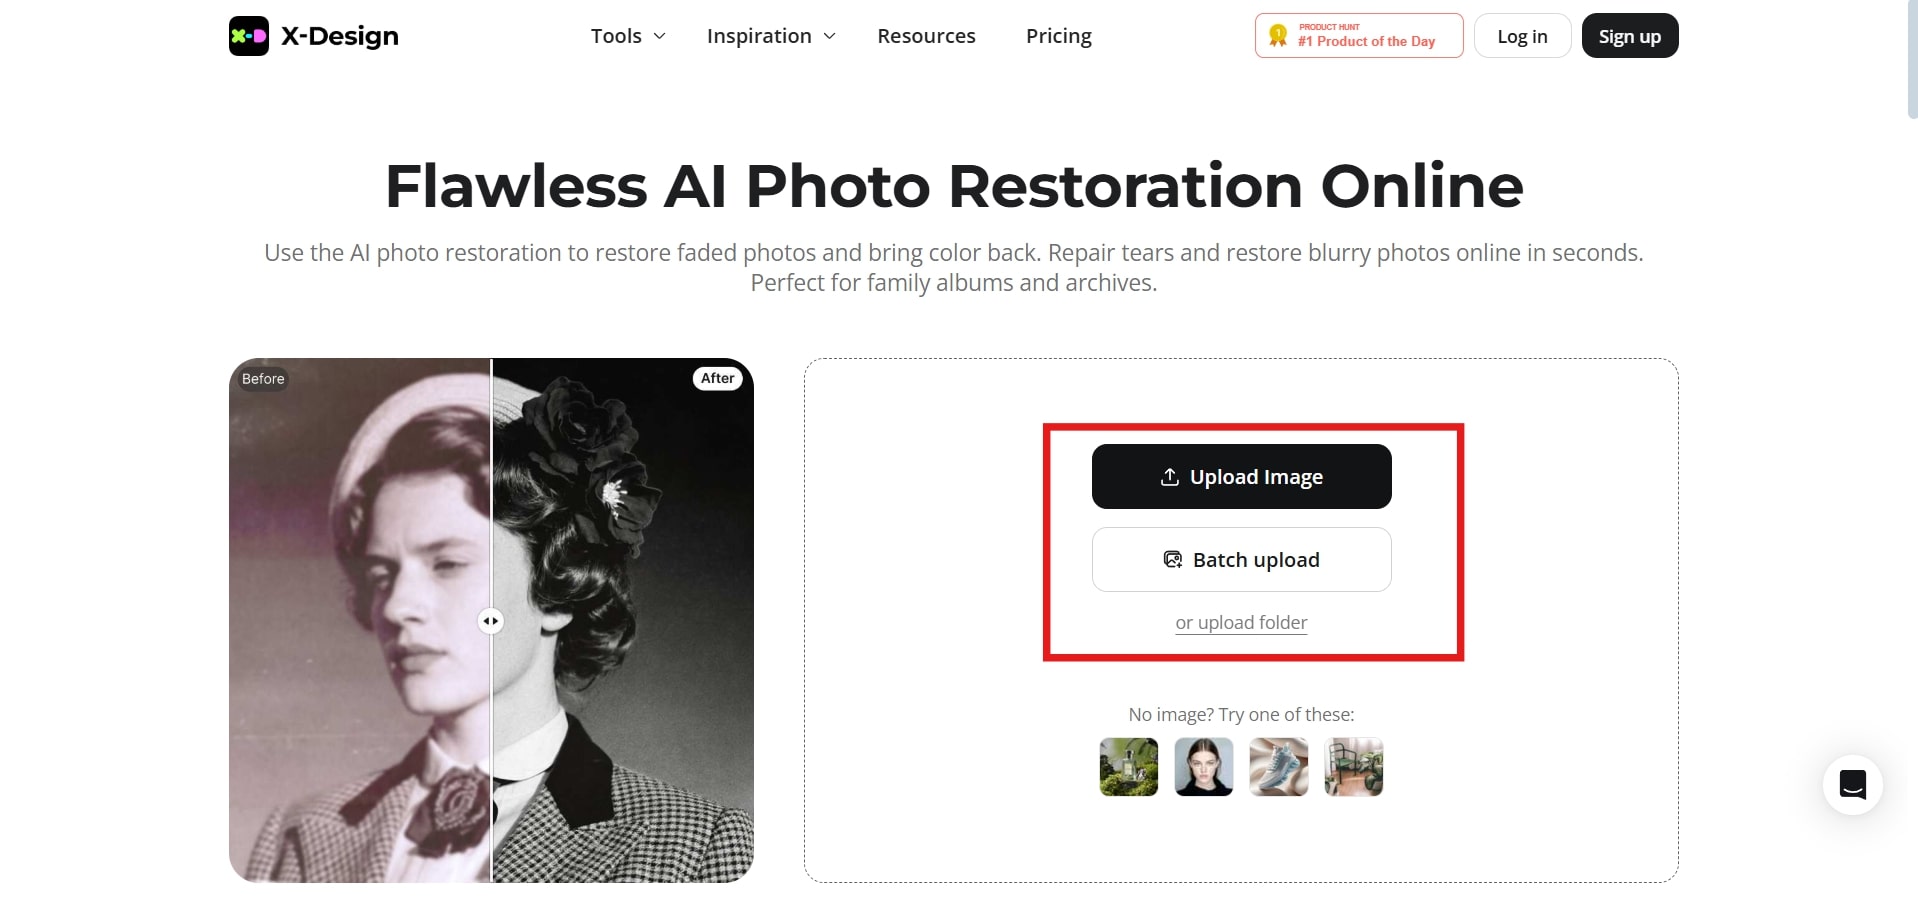
This is the easiest method to repair damaged photos. All you need to do is follow a few clicks here and there. And rest? Well, the AI algorithm takes care of it. The best part is that it’s completely web-based.
Which means you need not download and wait for hours to work. Due to its easy usage and quick results, X-Design’s image enhancer ranks among the best online tools to restore old photos. Here's how it works:
Upload your image
Start by picking the photo you want to restore. A scanned version of an old photo works best, but a clear digital copy will do fine, too
Click on Image Enhancer
Once your photo is uploaded, look for the “Enhance” option. This is the tool that actually fixes blur, revives colors, and sharpens details.
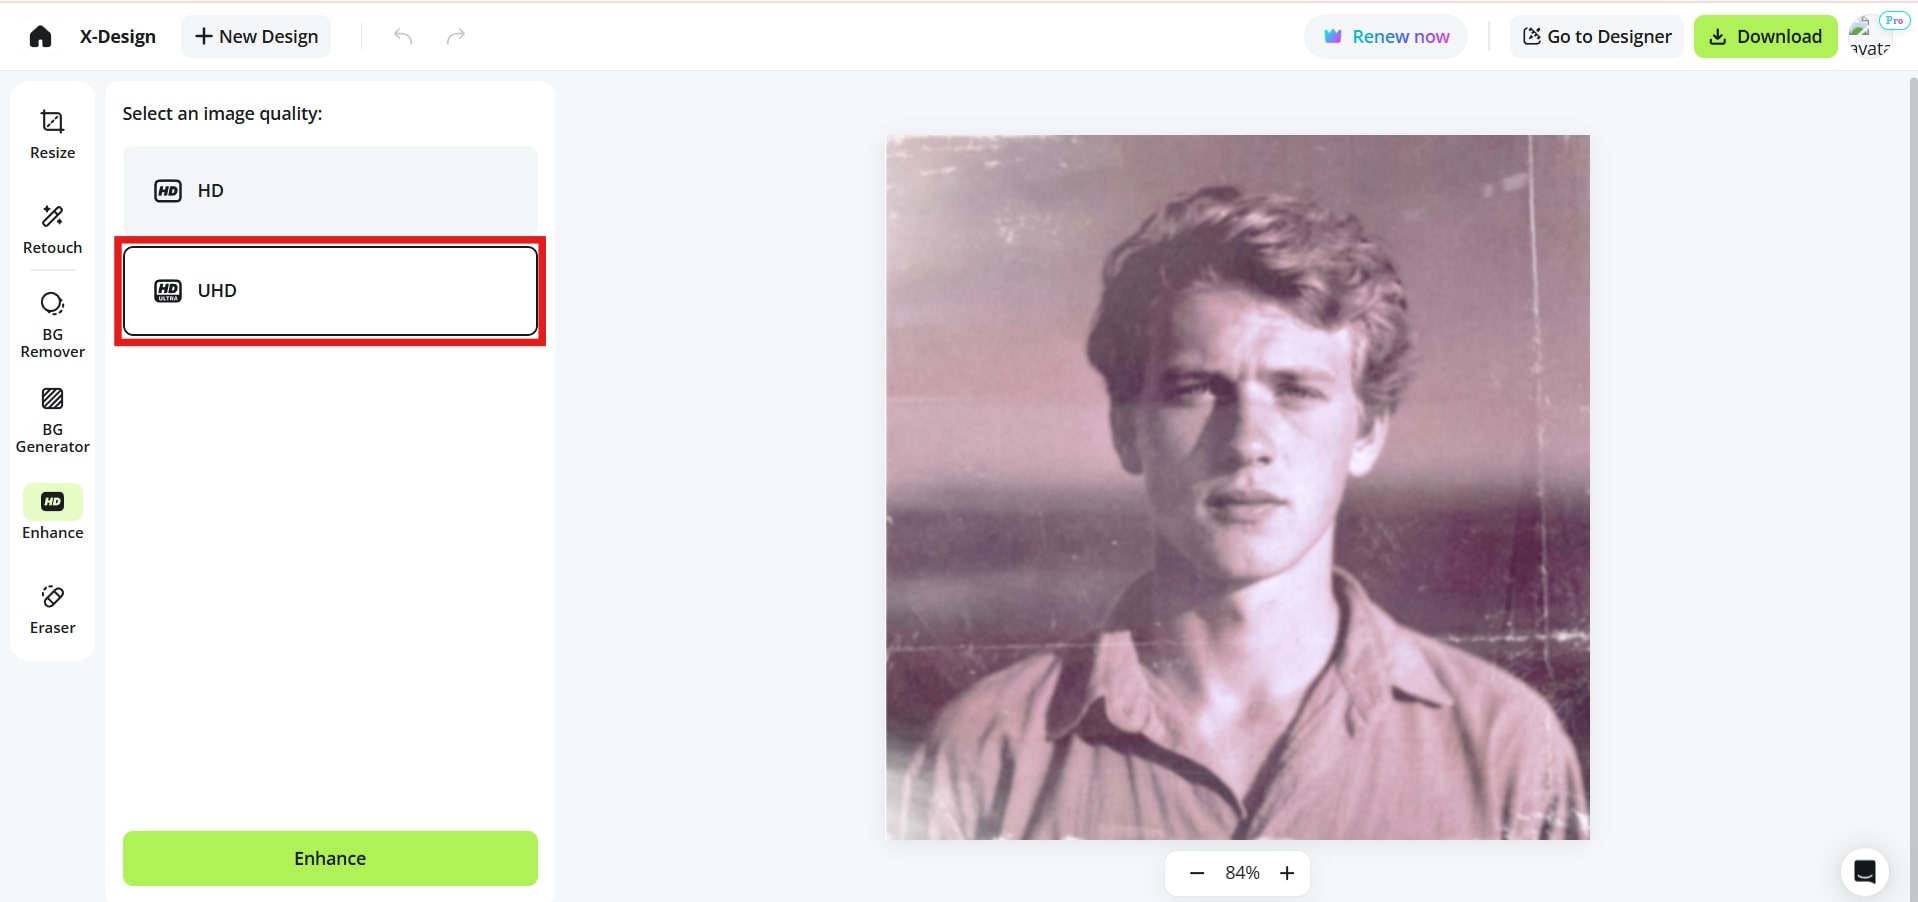
Choose HD or UHD mode
You’ll see two enhancement options—HD for quick, standard restoration, and UHD if you want ultra-detailed results. If your photo has a lot of fine lines or textures, go with UHD. Otherwise, HD works perfectly.

Click Generate
Hit the generate button and let the AI work. You’ll see a preview in just a few seconds. The tool automatically sharpens edges, improves contrast, and brings out the original colors.
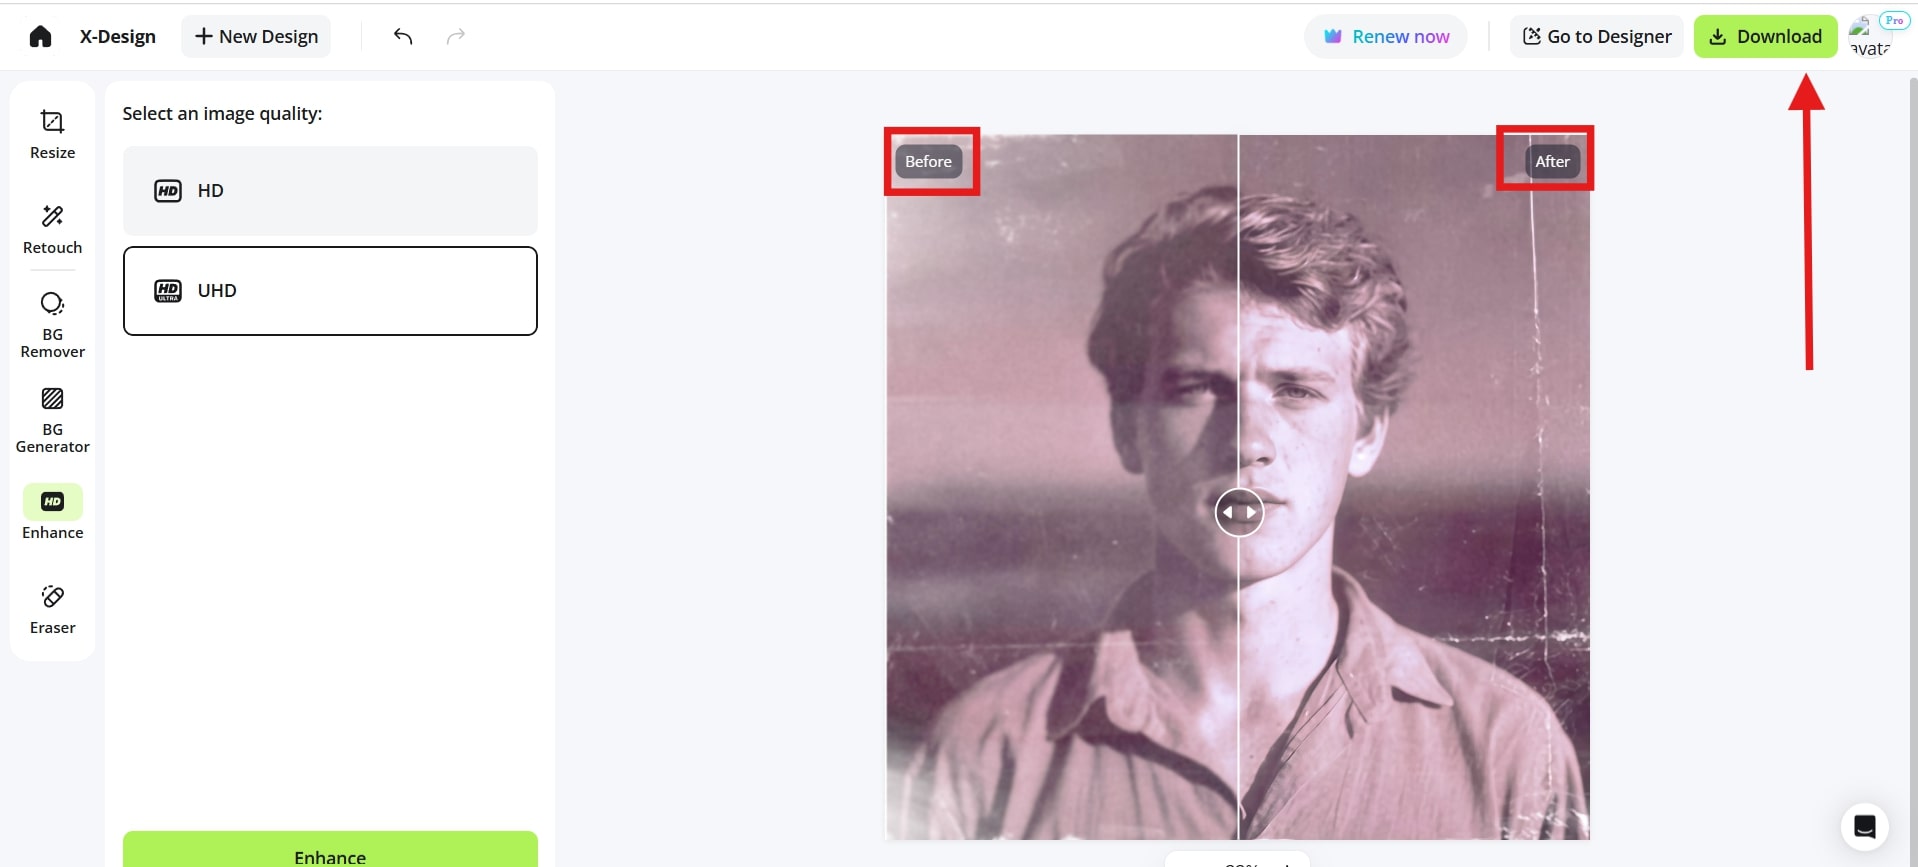
Compare and download
Once the enhancement is done, move the slider to compare the versions. When you’re happy with the result, click download to save your refreshed photo.
Method 2: Fix Faded Photos using GIMP
If you don’t have Photoshop, GIMP is a good free option. It gives you a lot of control over image. Once you get the hang of it, you can bring back details in photos.
Open your photo
Start GIMP and load the old image you want to restore. Make sure it’s a decent scan or digital copy so you have enough detail to work with.
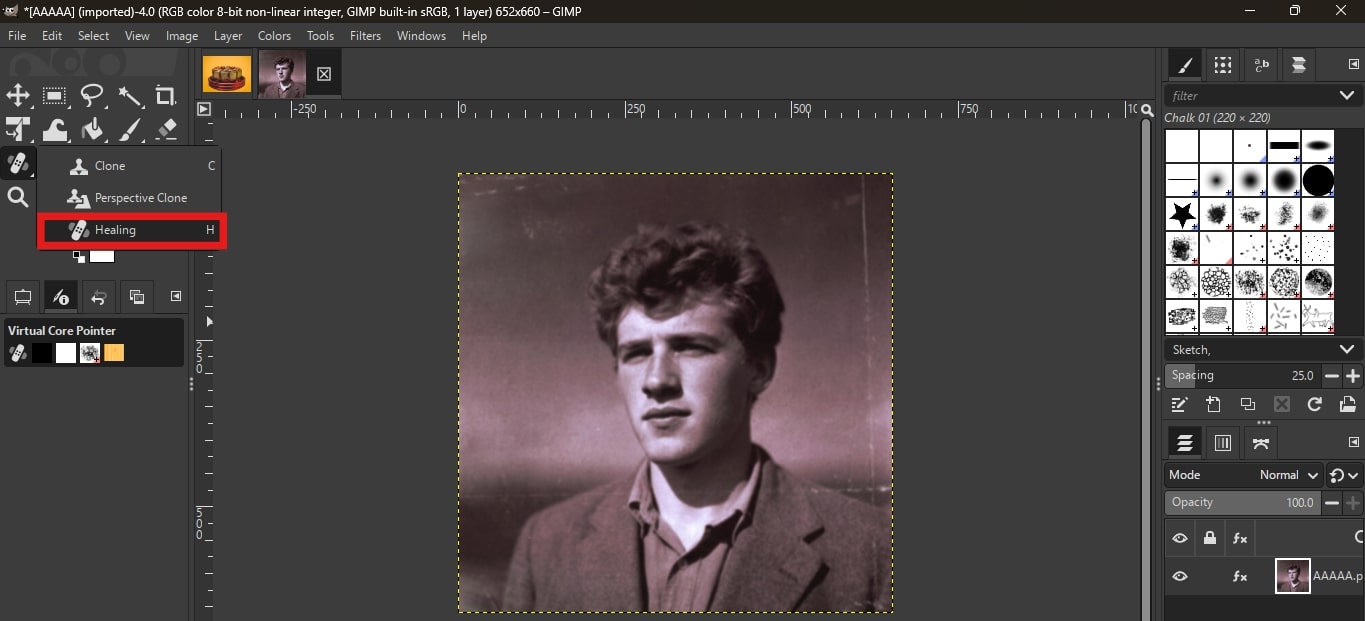
Clean up scratches and damage
Use the Heal Tool to remove small blemishes. Just click or brush over the damaged areas. Now, the GIMP blends the pixels naturally.
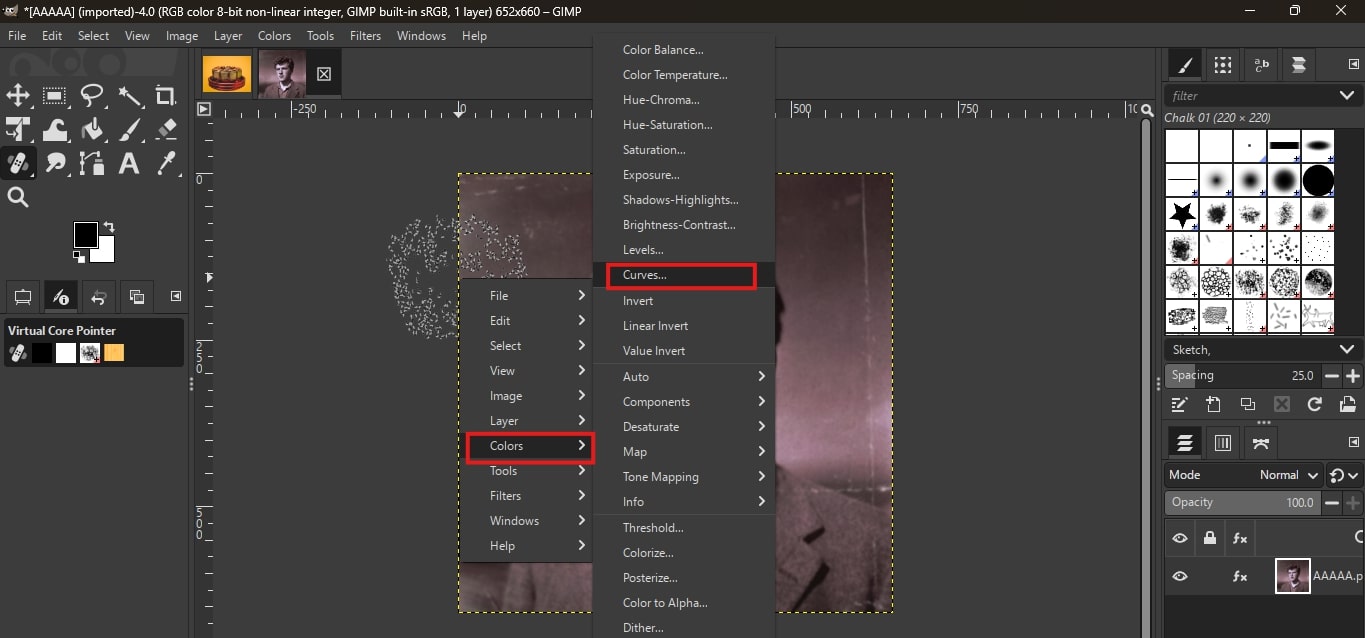
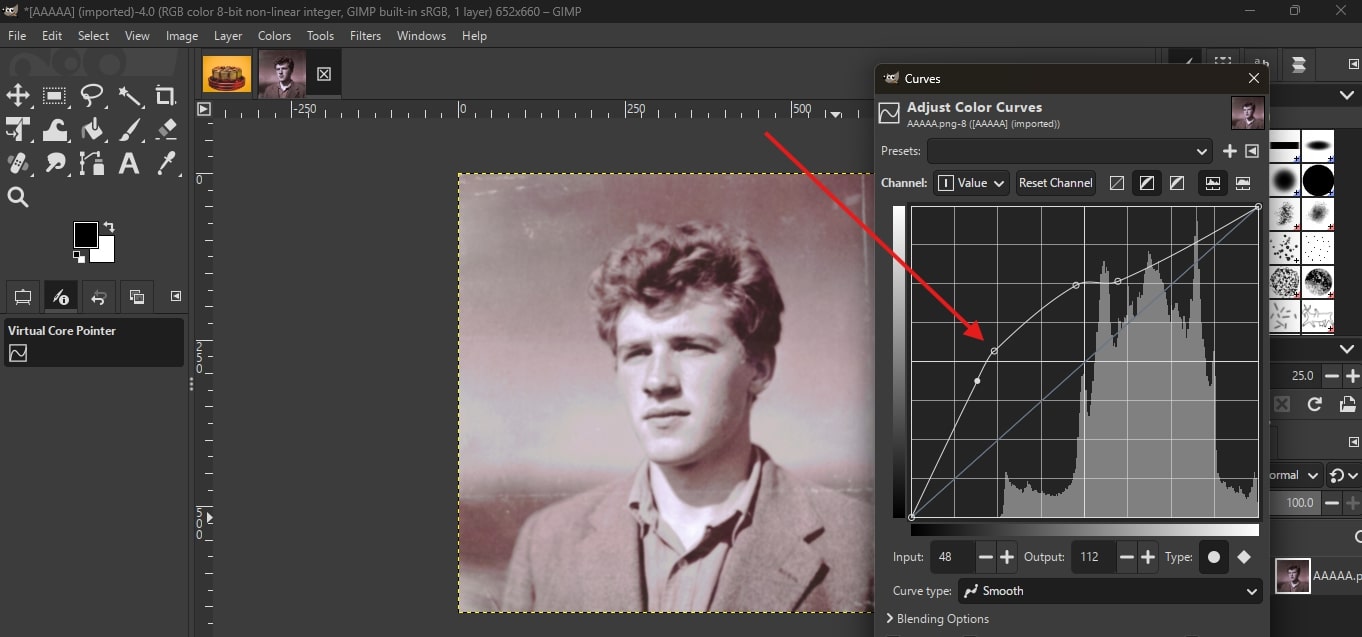
Adjust colors and brightness
Go to Colors → Levels or Colors → Curves. This helps make your photo look lively again. Play around with the sliders. Here you’ll see the changes in real time.
Sharpen the image
Use Filters → Enhance → Sharpen (Unsharp Mask) to recover details that might look a little soft. Don’t overdo it. But, just enough to make the edges clear.

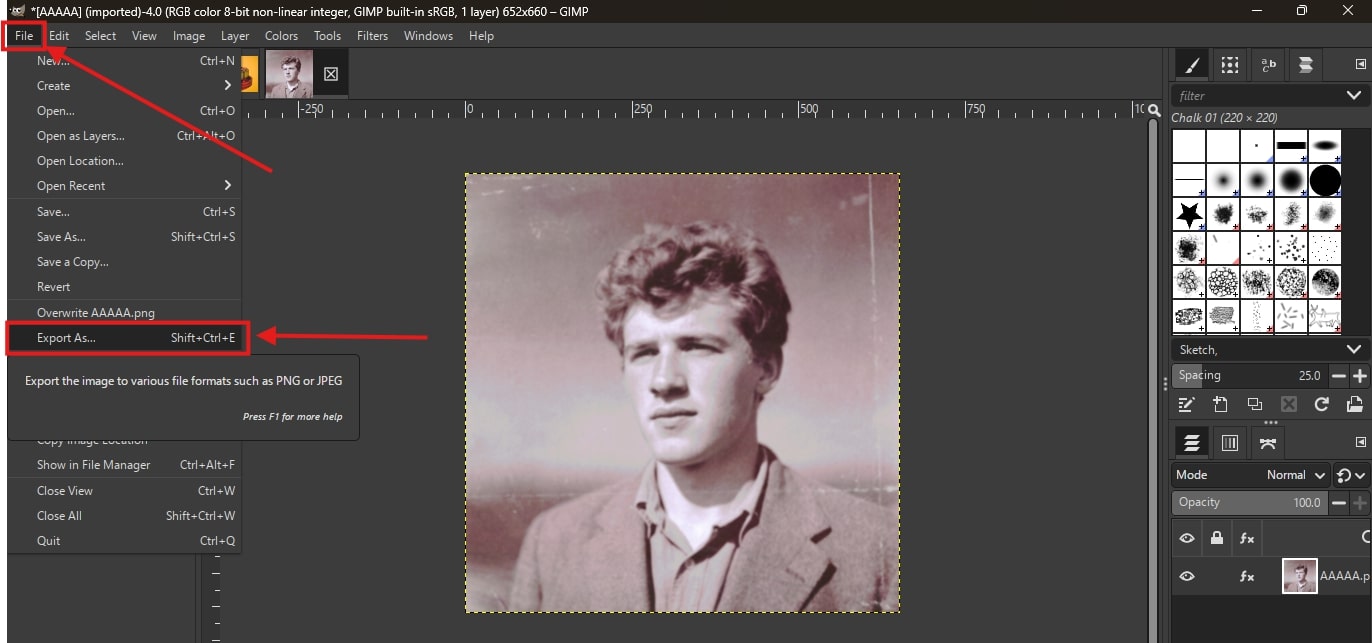
Compare and save
Zoom out and check the difference. Once you’re happy with how it looks, export your restored photo by going to File → Export As. Now save.
Method 3: Restore Old Photos Using Photoshop
Photoshop is a classic choice for photo restoration. This is ideal, especially if you want full control over the details. It’s a bit more hands-on than X-Design, but the results can be amazing. Here’s how it works.
Open your photo
Start by launching Photoshop and loading the old image. A high-resolution scan is best for detailed work.
Remove scratches
Use the Spot Healing Brush Tool to quickly fix small scratches. Just brush over the damaged areas. After that Photoshop will blend them naturally.
Adjust colors and contrast
Head to Image → Adjustments → Curves. Move the sliders to brighten faded areas, bring back contrast, and restore color depth.
Repair the more severely damaged sections
For tears or missing parts, use the Clone Stamp Tool. Sample a nearby area and paint over the damaged spot to reconstruct it realistically.
Sharpen details
Go to Filter → Sharpen → Unsharp Mask to bring out fine details. Adjust lightly so the image looks crisp but natural.
Compare and save
Zoom out and check the before-and-after. When satisfied, save your restored image using File → Save As, so you keep the original safe.
How to Colorize the Old Image?
Restored your old black and white photos, but something still feels missing?. Well, maybe it’s the colors. Luckily, you can easily add colors to a grayscale image, too. Let’s understand how X-Design AI photo editor can help you with this:
Upload your photo
Start by choosing the photo you want to colorize.
Go to Retouch
Once the photo is uploaded, click on the Retouch section. This is where all the magic happens.

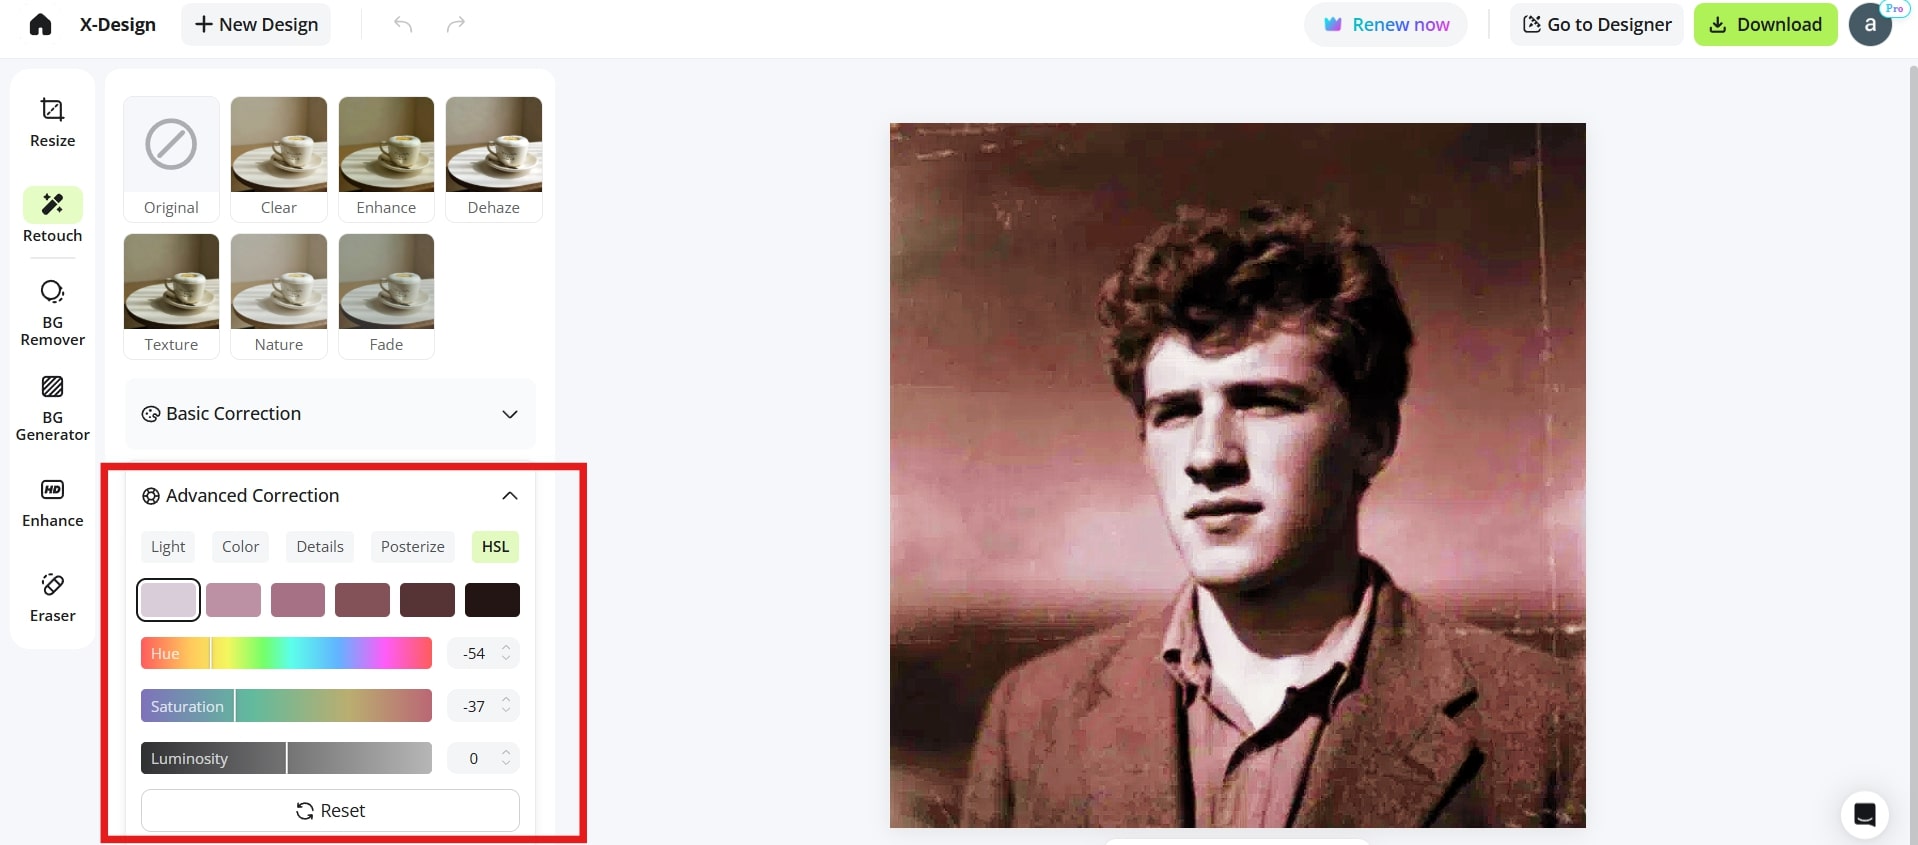
Tweak basic and advanced corrections
Start with basic adjustments like saturation to prepare the image. Then move on to Advanced Corrections to refine colors, enhance details. Now, make skin tones look natural.
Download your restored and colorized image
Once you’re happy with how it looks. Hit download to save your newly colorized photo.
How to Restore Old Photos on Mobile Apps
Want to restore your old photos on your phone? It’s totally possible, and honestly, it’s easier than you might think. Let’s walk through a few apps that make this super simple.
1. X-Design Mobile App
Just like the web version, the X-Design app is super handy. It’s available for both Android and iPhone, so you can restore old photos anytime.
Open the app and pick your photo
Choose the old photo you want to restore from your phone’s gallery.
Go to Image Enhancer
Tap the enhancer option, just like on the web version.
Choose HD or UHD mode
HD is perfect for standard restoration, while UHD gives extra detail for tricky or larger images.
Hit generate and let it work
The AI will automatically fix faded colors and remove minor scratches
Save your Final Image
Now, simply click on the download button. Select the file type as PNG or JPG. Hit download.
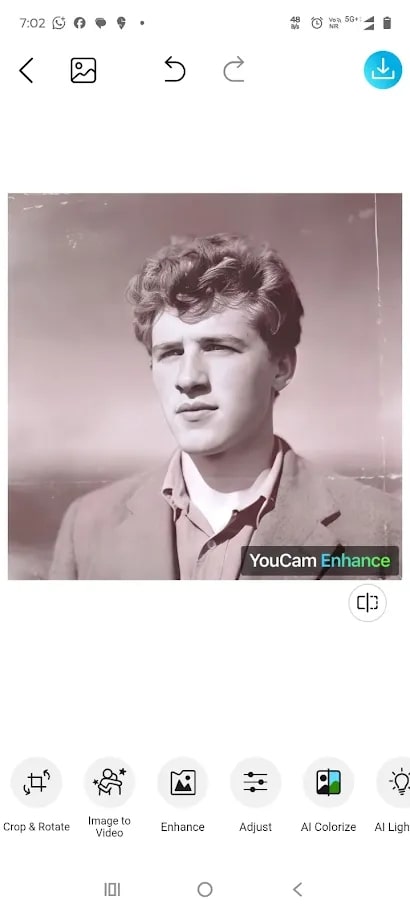
2. YouCam Enhance – Revive Your Old Photos
YouCam Enhance is a user-friendly mobile app designed to enhance damaged photos using advanced AI technology. Whether you're looking to sharpen details, add color to images. It even allows you to remove imperfections,
Open the App and Select Your Photo
Launch the YouCam Enhance app on your mobile device. Tap the “Enhance” icon to select the old photo you want to restore from your gallery.
Enhance the Photo
Tap the “Enhance” button to automatically denoise the image, effectively correcting any blurriness in the old photos.
Review the image
Preview the restored photo to ensure it meets your expectations. Use the adjustment tools to fix contrast.
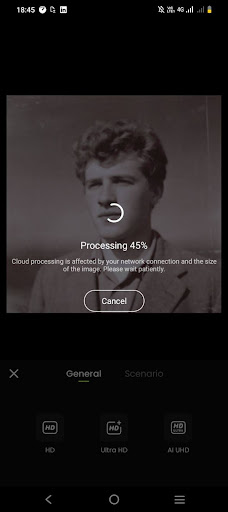
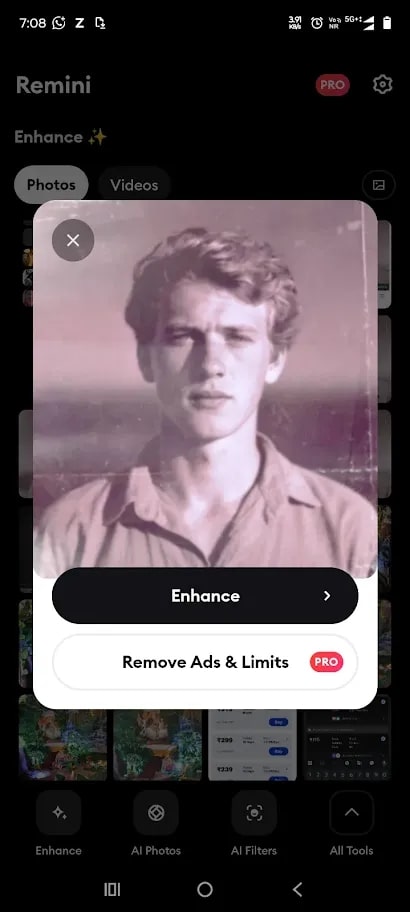
3. Remini Mobile App
Remini is a widely-used app that’s great for enhancing blurry photos. It’s free to use (with optional premium features). Like others, it works on both Android and iPhone. Here are some steps on how it works:
Open Remini and choose your photo
Open the application and click on the upload. Now, pick the old or blurry image from your gallery.
Tap Enhance
The app will process your photo automatically. You’ll see a progress bar while it works.
Compare results
Once finished, use the slider or preview to see the difference between the original and enhanced photo.
Save the Image
Click on the save button as per your preferred format. The image will be saved in your phone's gallery.
Use Cases for Restoring Old Photos
Use Case | Purpose | Recommended Tool |
Restore faded color photos | Bring back vibrant colors | X-Design, GIMP |
Bring back vibrant colors | Fix scratches and worn edges | GIMP |
Restore black-and-white photos | Add realistic color or enhance details | X-Design Colorizer, Colourise.online |
Quick online restoration | Fast AI-based fixes without software | X-Desig, Fotor Online |
Mobile photo restoration | Edit and restore photos on the go | X-Design App, Remini, Fotor Mobile |
Passport or ID photo preparation | Change background or crop to official size | X-Design Background Remover |
Final Words
So that’s it for how to restore old family photos. Following this photo restoration guide, you can easily tweak the dull images into something worth sharing. Please note that for using GIMP and Photoshop, knowledge of designing tools is mandatory. However, when comparing these methods, it can be seen that X-Design is the best app to restore old photos for both beginners and pros.
Want to restore your old photos in seconds? Get the X-Design app on Android or iPhone and bring faded, scratched pictures back to life effortlessly!
Related articles

What is a PNG and How to Convert It?

How to Remove the Kling AI Watermark

How to Remove Gemini Watermark?
